
Everything You Thought You Knew About Burning Candles Is Wrong
- By davidh
- •
- 08 Oct, 2018
- •
Ever consider yourself something of a candle connoisseur. You’ve smelled a ton over the years and lit plenty. Tapers, votives, you name it—there might be some kind of candle in practically every room of your home. But have you ever given much thought to your burning technique? Didn’t think so.
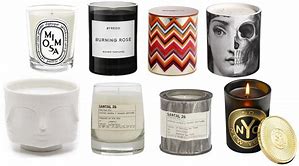
Not Choosing Your Candle Wisely - Candles burn roughly five to seven hours per ounce. So the bigger the candle, the longer the burn time. But what you probably didn't know—and honestly, it seems counterintuitive—is that a three wick candle in the same exact vessel as a one wick candle will burn slower—not faster. Three wicks will actually extend the life of a candle because rather than tunneling straight down the center of the candle (near the one wick) when lit, the wax gets hot enough (from the three flames) to actually pool across the entire candle. This way, you're using every bit of wax in the vessel as you burn it. If you're worried at all about indoor air quality, soy wax with an essential oil-based fragrance will give you the cleanest burn.
Only Trimming Your Wick Once - Trim the wick to 1/4-inch each time before burning to prevent your candle from smoking a lot and creating soot marks on your container. In fact, long or crooked wicks can actually cause uneven burning, dripping, or flaring. The good news is you can use regular scissors or a nail clipper to make cuts. No need for a dedicated.
Not Burning Your Candle Long Enough the First Time - If you want your candle to burn evenly and last as long as possible, you have to light it for about 3 to 4 hours the first time you burn it. Wax has a muscle memory, and it's going to burn in the same pattern every time. So if you light it for long enough the first time, that will ensure that your candle pools completely across all of the wax, setting it up to continue to do so with each subsequent burn. Otherwise, tunneling, where the wick burns straight down the center of a candle without creating a full melt pool, can occur. Once your candle starts tunneling, you're losing all that peripheral wax surface area for future burns.
Giving Up on an Improperly Burned Candle - Yeah, you read that right. You have a couple of options to bring a slightly tunneled candle back to life. You can use a hair dryer on low to even out the wax surface or pop the candle in an oven at 175 degrees for about 5 minutes. These two actions will melt the wax, so that it's smooth and level across the top again. Scoop out any wax that flows over the wick.
Not Watching Your Burn Time - Do not burn your candle for longer than four to six hours at a time. If you let the whole candle get liquid, the wick or wicks can float to the side, and it's going to burn unevenly after that.
Blowing Out Your Candles - Seriously. You thought snuffers were another marketing ploy, but when you blow out a flame, it actually creates and spreads those little annoying black ash particles that get stuck in the wax. You don't have to buy a snuffer though. Just get a candle with a lid, and it'll smother the flame in the same way. Plus, a top keeps dust and dirt out.
Not Reusing Your Vessels - Look for candles that the container is designed to be upcycled. Ceramic, metal, and glass are food-and drink-safe, but concrete is better as, say, a planter, a makeup brush holder, or a pencil cup.

1. Mix real and faux. No one needs to know it’s not all real. It can be difficult to tell the difference at a glance so let it be your secret.
2. Mix and match! Select a few faux seasonal statement stems that you can mix in with other foliage. This can help your basic arrangements go farther and give you a variety of shapes, colors and flowers to play with all year round. Keep less seasonal specific blooms or branches to cut down on the amount of items you need to store.
3. Bend the branches and leaves so they feel more relaxed and organic!
4. Vary the stem heights in the vase give it a more interesting shape.
5. Create an airy arrangement, leaving breathing room for a simpler look.
6. Pack a visual punch by using just one type of foliage. Use unique containers for your foliage to make a one-of-a-kind statement!
7. Fill the bottom of glass vessels with rocks for more interest.
8. You can use water in the bottom of a glass vase to make faux look more realistic!
Lesson #4 - How to Clean Quartz Countertops -Quartz countertops are non-porous, which means they don't absorb bacteria, mold and mildew — not to mention things like red wine. So spill away! Cleaning is straightforward. Use only soap and water, and maybe some mild detergent. (Always check your manufacturer's cleaning and maintenance guide before you use different cleaning products, just to make sure the quartz won't react adversely to a particular chemical.
Lesson #5 - Quartz Countertop Pros and Cons
• Technology means that quartz countertops are consistently and uniformly produced, so you know exactly what you are getting when you buy it.
• Quartz's main selling point is durability. It will last for years without staining or breaking down, and requires little to no maintenance. It's also very easy to clean.
• Because it's made from little leftover bits of mineral, versus mined in whole slabs and shipped around the world, quartz countertops are considered a good environmental choice.
• One drawback is the upfront cost: it's one of the more expensive materials out there. However, quartz is extremely popular these days, which can be a huge selling point when you put your home on the market.
• Current technology limits the quartz countertop slab sizes. If you want an oversized island, for example, you might have to choose a different material. However, seams are less visible on quartz countertops than other materials.
Lesson #6 - Quartz Countertops vs. Granite/Marble - Granite/Marble was the go-to countertop for years, but has recently fallen into second place, leaving people to wonder which is better. Granite/Marble is an all-natural stone that's quarried: no two slabs are alike, and there are endless variations for you to choose from. It's also can be more affordable than quartz. Like quartz, granite/marble is highly durable, although it is porous and susceptible to stains, and therefore requires periodic sealing after the initial installation.
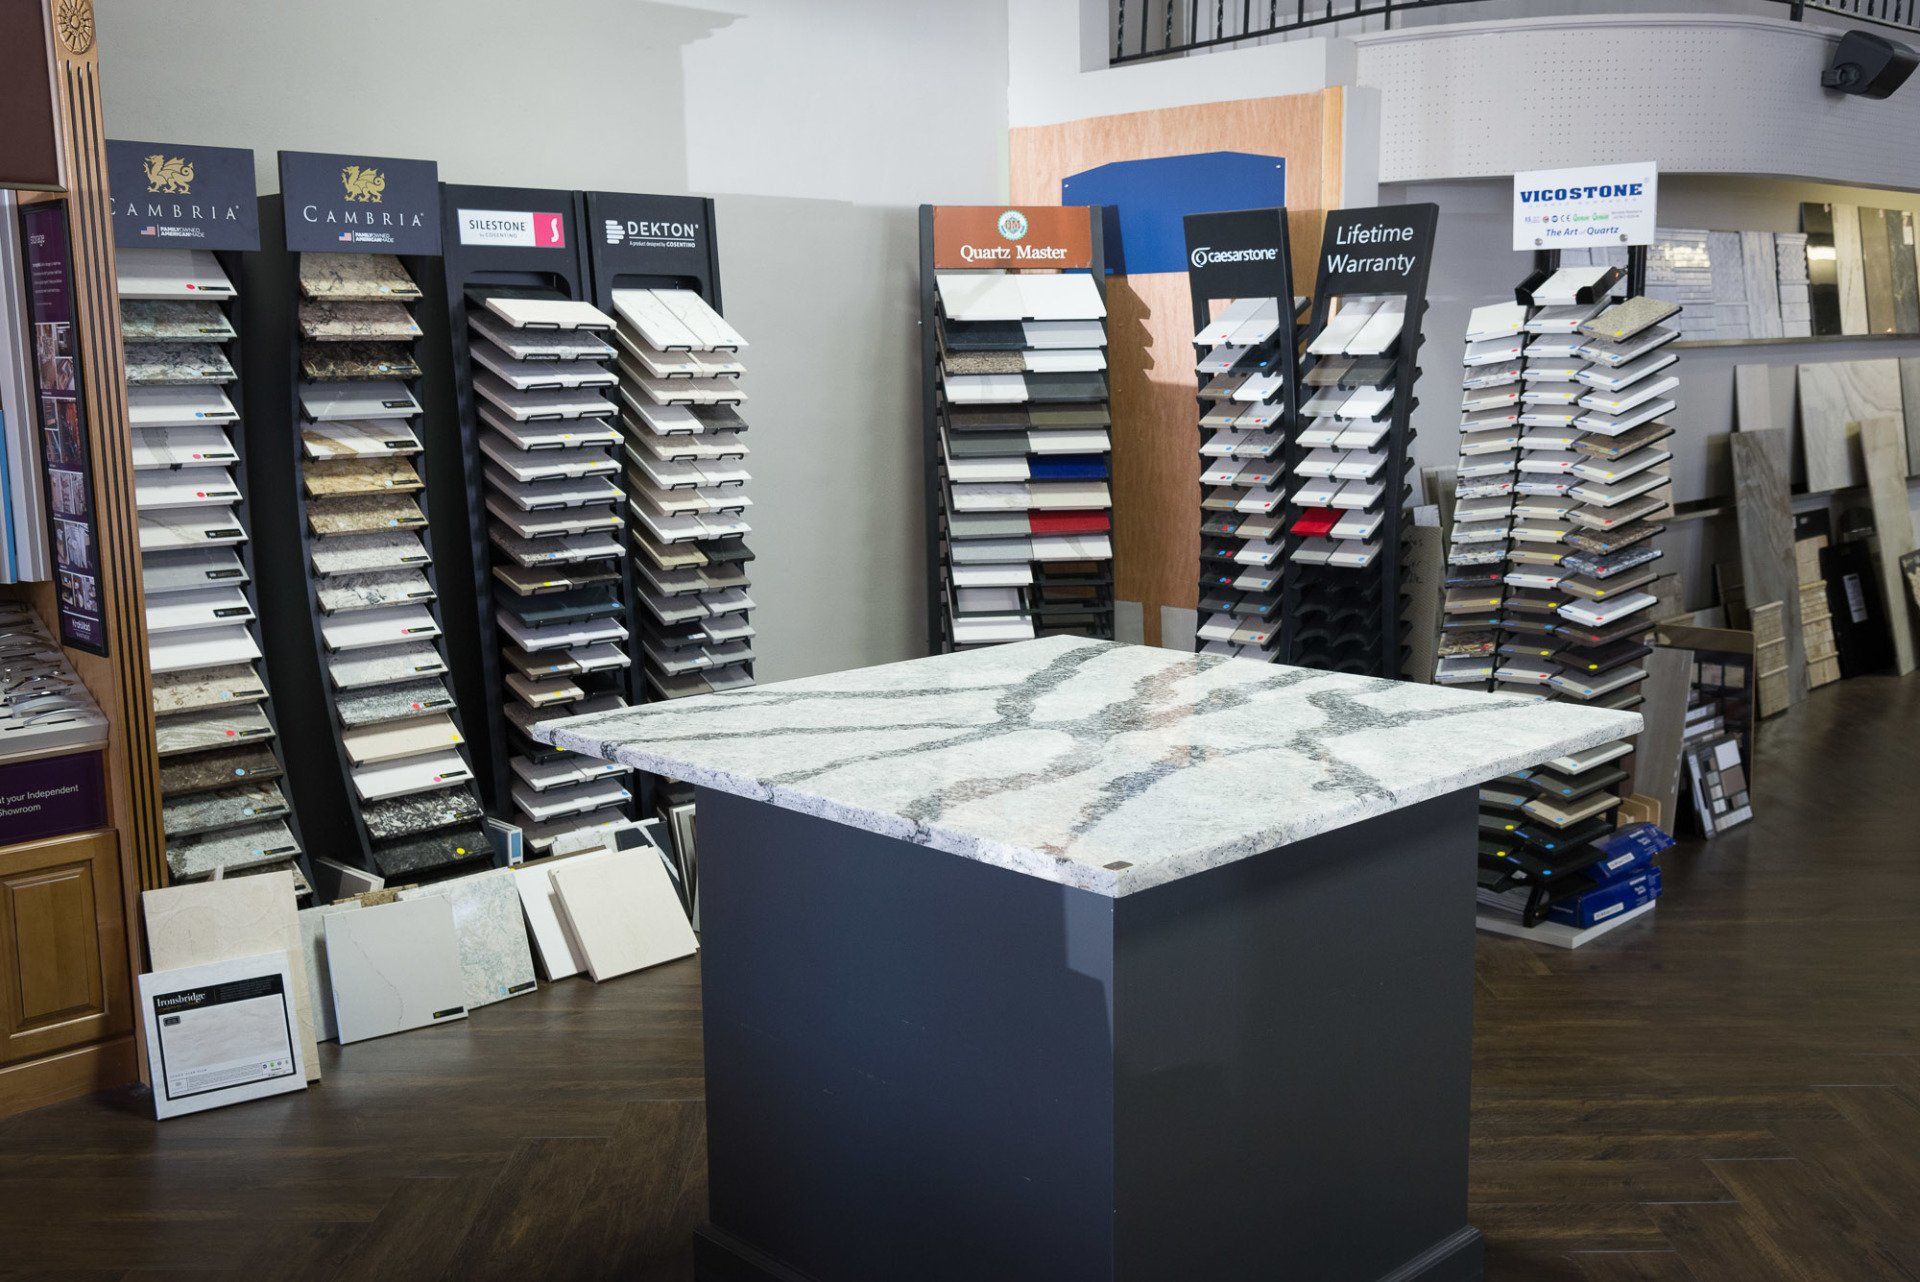
Lesson #1 - Quartz Countertops Colors - Although white and grey are probably the most popular, endless colors are available. Beyond color, new patterns also mimic the look of natural substances with subtle veins and striations — which gives the material some movement and makes it feel more real. There are also now more finishes to consider, in addition to the smooth and shiny quartz you can achieve a softer appearance — with honed or suede-like finishes — that have a brushed feel.
Lesson #2 - How Much Do Quartz Countertops Cost - Unfortunately, quartz countertops aren't a budget kitchen material, and can be a significant chunk of your remodeling budget. They run between $60-100 plus per square foot, including installation.
Lesson #3 - Durability - If you want the look, but not the maintenance, of natural materials like soapstone or marble, quartz countertops are an attractive alternative. Its hardness makes it a good work surface, and one of the most durable and low-maintenance options you can buy. Unlike other materials, it resists etching, stains, cracks and chips. More good news: the resin that binds the quartz during manufacturing already adds protection, so there's no need to initially seal the surface, or maintain by resealing in the future. It's good to know, however, that quartz countertops don't like high heat. You should never put scalding pots and hot pans directly on the countertop: always use a trivet instead.

PICK AN ANCHOR COLOR: If there's a piece of furniture in your room that brings in a pop of color, make sure the rest of the room highlights it without outshining it.
MIX AND MATCH PRINTS: By mixing and matching styles and prints, you'll elevate the intrigue to keep the eye engaged.
THINK ABOUT SYMMETRY: Once you've got all the right pillows, you should also spend some time thinking about how you'd like to display them to get the most out of their potential. If you like the look of asymmetry, try an arrangement that looks more random and effortless.
STAY NEUTRAL:. If bright colors overwhelm you or you simply resonate with neutrals more, you can still allow your personality to show through with things like texture, material and shape.
EXPERIMENT WITH TEXTURE: Its fun texture makes it the perfect way to achieve a wild aesthetic outside of color, print, and shape elements.

Better yet, can be ordered in your fabric selection and be stationary, swivel, or rock.

String Mops - String-mops are inefficient, unsanitary, and obsolete because most floors should not be wet-mopped anymore anyway, they should be vacuumed, dry-dusted, then damp-mopped by spraying the cleaner directly on the floor and immediately polished clean. The new gold standard for floor mops is one with microfiber strands, or a spray mop with a machine-washable cleaning pad.
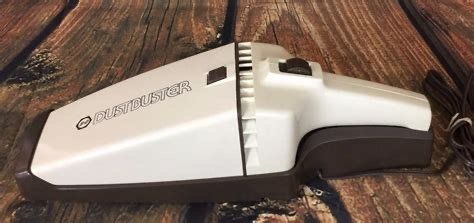
Your Ancient Handheld Vacuum - Some handheld vacuums aren’t practical or sanitary. They are filled with old dust and debris and don’t do a very good job vacuuming up stuff.

Feather Dusters - Feather dusters and rainbow-colored dusters are outdated because they’re ineffective. Without a cleaner or polish, or something to cling to the dust, they’ll just move your dirt around. Use a Swiller style dusters for light dusting once a week, but for a good, effective deep clean use an all-purpose cleaner and a microfiber cloth to trap dust and give your surfaces a nice shine.
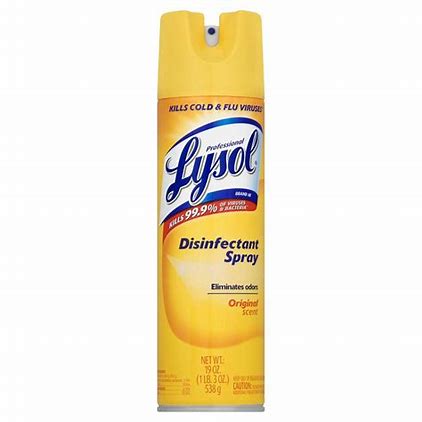
Disinfectant Spray or Wipes More Than Two Years Old - Like it or not, if it’s been sitting under your sink for too long, your go-to disinfectant spray or wipes aren’t something you can count on. Disinfectant sprays are usually only good for one to two years max. If the smell is getting weaker, then it’s not effective as a disinfectant anymore.
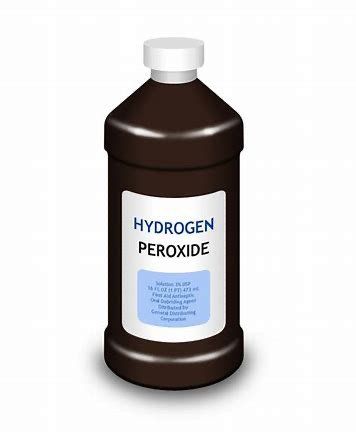
Hydrogen Peroxide - (especially if it’s been exposed to light)
Often used as a nontoxic disinfectant around the house, when stored incorrectly, hydrogen peroxide breaks down and loses its antibacterial properties when exposed to light for too long, that’s why it always comes in a dark bottle. Store it in a cool, dark place (in its original bottle) to ensure it stays potent and powerful. Even when stored properly, an opened bottle of hydrogen peroxide only maintains its effectiveness for six months to a year—it should indicate its shelf life on the label. After this time, the expired solution isn’t harmful, but it won’t be as effective at disinfecting as it used to.
